Introduction
Install the Extension
Install Web Snapper from the Chrome Web Store, pin it to your toolbar, and start capturing pages with its minimal, click-to-activate permissions.
Getting Web Snapper set up takes about a minute. You install it from the Chrome Web Store, pin it to your toolbar, and you're ready to capture your first page.
Add it from the Chrome Web Store
- Open the Web Snapper listing on the Chrome Web Store.
- Click Add to Chrome, then confirm.
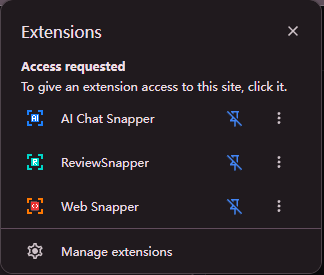
- Pin the extension so its icon stays visible in your toolbar.
Web Snapper works in Chrome today and runs on other Chromium-based browsers (Edge, Brave, Arc).
A minimal permission model
Most screenshot tools ask for permission to "read and change your data on all websites." Web Snapper doesn't. It uses Chrome's activeTab model, which means it can only act on a page after you click its toolbar icon — and only on that one tab.
Nothing runs in the background, and there are no persistent scripts watching your browsing. When you click the icon, Web Snapper injects what it needs to measure the layout, capture the page, and run the on-page editor, then it's done.
Everything it produces — PNG, PDF, HTML, or Markdown — is generated locally and saved to your Downloads folder. You can read the complete breakdown on the privacy page.
What to expect on first launch
The first time you click the Web Snapper icon, you'll see its popup with the capture modes and export formats laid out. There's no sign-in, no setup wizard, and no settings you're required to configure — sensible defaults are ready to go.
From here, you can capture any page in a couple of clicks.
What's next
- Walk through your first save in First Capture.
- See everything Web Snapper can do in Getting Started.